

DESIGN BLOG
Concrete Floor Finishes - A New Look!
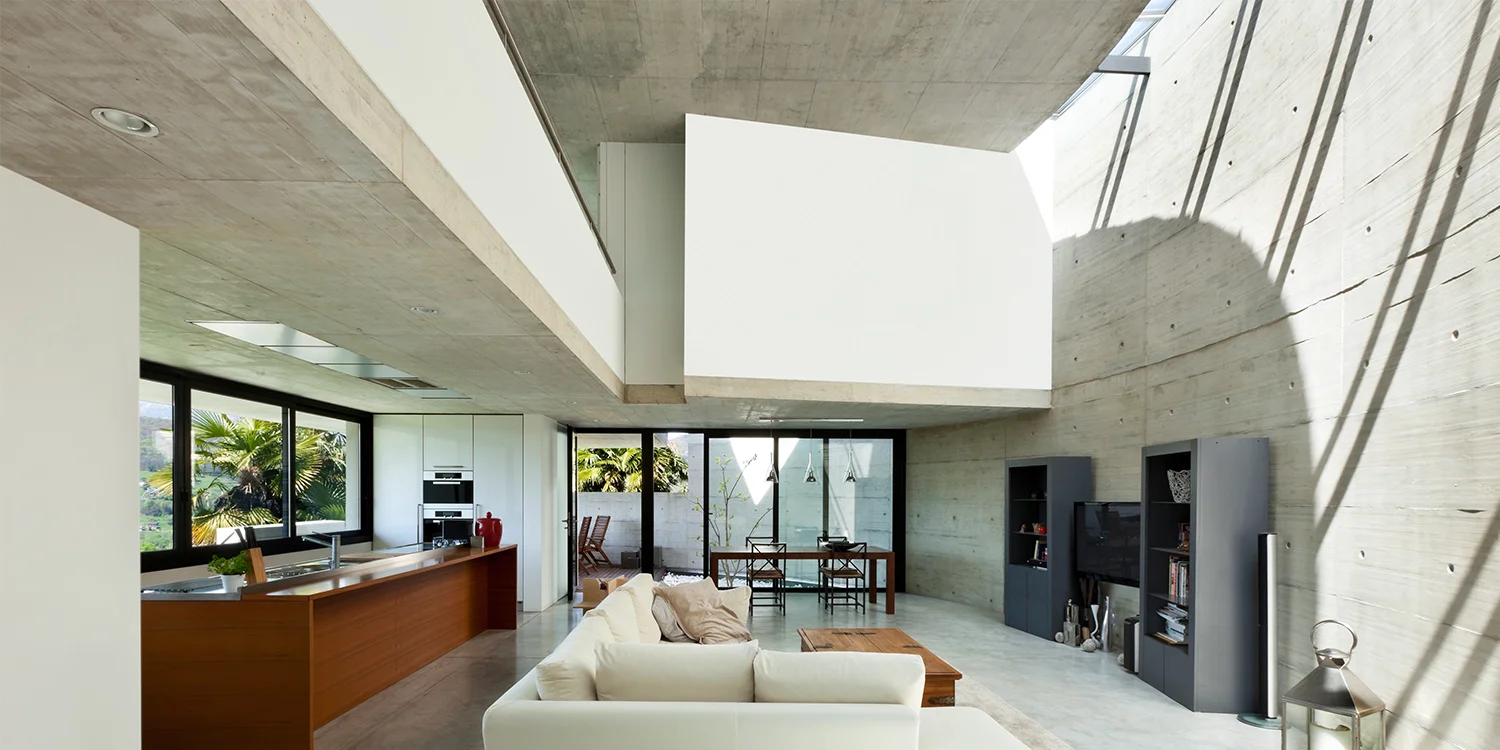
Stunning concrete floors
As you walk around your home, do you look at the concrete floors you might have in your garage, unfinished basement, or patio and wonder what you could do with them? Do you like what you see or could it use a little something? When we design homes, we talk with clients about flooring and what to do with concrete floors. We’ve done the research and have some perfect solutions with regards to the types of finishes available to use on your concrete floors. From DIY to professional work, the sky’s the limit with concrete flooring and what you can do to make it your own!
If you’ve never considered concrete floors for more than your garage and basement, maybe you should! It would certainly be different and an interesting and bold choice. Concrete floor finishes can be colored or stained almost any color or can have finishes added that appear to look like marble, slate, or tile. Borders can be added or areas embellished with different designs. The benefits might just have you doing some thinking. Concrete floors are durable, tough, and resilient. It is fairly low-maintenance, depending on the chosen finish. Some may require occasional sealing. Concrete floors wipe clean easily and are resistant to most chemical and water spills. Typically used in garages, basements, and patios, people are also installing and finishing them in kitchens, bathrooms, and living areas.
Top Finishes to Ponder
Perfection with Paint:
Are you just looking for a color change? Painting the concrete might be a smart choice. While not too difficult to do yourself, you do need to know how to prepare the surface before you paint and use the right kind of paint-one designed for masonry. Paint can be used on the whole floor or just to provide some decorative touches (or paint games or designs on the floor for your kids-hopscotch or checkers anyone?).
Stupendous Stains:
Concrete stain is a popular choice. It works well on both interior and exterior surfaces and is a fairly easy application. The stain penetrates the surface so the concrete needs to be new or thoroughly cleaned. It won’t hide cracks or imperfections and as beautiful as it looks, it doesn’t provide a great deal of protection to the floor so it should have a sealant applied to prevent the floor from fading.
Types of Stains:
Acid-based stains give a bold, stunning look. It has a variegated and mottled look. Acid stains only come in colors like blue-greens, browns, and tans, which may limit their appeal for you. Acid stains tend not to fade and won’t chip or peel.
Water-based stains are a great DIY project as they are easy to apply. Colors are muted but there are many more color options available.
Fast stains are eco-friendly and fast drying. It is flecked and variegated in appearance. This is a perfect choice for polished concrete floors and can be used with both acid or water stains.
Exciting Epoxy:
Searching for shine and extreme durability? Look no further than epoxy. This shiny surface can have color or aggregates added for color and unique texture. This is a great solution for high-traffic areas, like your garage! It will protect the floor from oil stains, grease, ad tire marks. It is harder to apply, so do your research or hire a professional to do the application.
Types of Epoxy:
Standard epoxy is used in high-traffic indoor areas. The finish is shiny, durable, and one color.
Granite epoxy is a unique look, adding texture and durability to your floors. Color chips are added, giving you a wide variety of color and texture.
Quartz Sand epoxy is perfect for garages. It’s smooth, slip-resistant, easy to clean and withstands water and chemical spills.
Colors:
Getting ready to have the concrete poured? Stop and think about color now! Adding a color to the concrete will create the look you want. This is a perfect option if you are planning to stamp the concrete to look like tile, brick, or stone, or if you just want something other than “concrete” color.
Stamp That Concrete:
If you have planned ahead, stamping the concrete, especially for walkways and patios, creates a beautiful finish. The stamp (think leaves, flowers, or geometric designs) is stamped into the concrete as it cures. You’re only limited by your imagination for this type of finish.
Score!
No not your favorite football team, but the concrete! Existing concrete slabs can be turned into “tile” by using a saw to etch the concrete into whatever pattern you desire. You can even stain it after the etching is completed. This is a good option for walkways, driveways, or patios. Would you DIY it?
Seal it Up:
Sealing is always an option if you’re just trying to keep water out and give the floor a glossy surface. With any of the above options, you might want or need to seal your newly designed concrete floors.
Do we have you thinking differently about concrete now? Watch our Front Porch Friday video, Concrete Floor Finishes, to see this blog in action. Here at RDS, we can design your new home or help you create the remodel of your dreams. Let our designers help you create something new! or
Get Your Home Ready for Winter

Start getting ready for winter by raking leaves and showing your home some love!
It’s been a stunning fall so far but we know what winter will bring! Not only do we need to get out our winter coats, gloves, warm clothes, and shovels, but we need to get our homes ready for winter, too. At RDS, your home design specialists, we’ve been discussing what we need to do to our homes this fall so that we aren’t caught off guard when cold weather really arrives.
Download our Winter Ready Checklist here. Use this handy checklist to make sure you’ve done everything you can to have your home ready for winter.
What should you be doing to get your home ready for winter?
Furnace:
One of our first Front Porch Friday videos was all about furnace filters. View it here for everything you need to know about them. It’s important to get your furnace serviced, the filter changed, and tested for any leaks. A yearly furnace checkup could save you from a really cold night.
Clean Up:
The leaves are falling and we’re busy raking. (Make sure to mow or mulch some of them into your lawn to give it some much-needed nutrients.) But don’t forget to clean out the gutters once the leaves are down in order to prevent overflowing gutters when it rains or ice build-up when it’s cold.
To avoid a slippery scenario, keep leaves cleared off walkways, the driveway, and decks.
Is your chimney clean? If it hasn’t been cleaned in a while, especially if it is wood burning, now is the time. Experts suggest having them inspected yearly.
Cover outdoor furniture or move it indoors after cleaning it.
Take soil out of the pots that you keep outside or bring them inside. The soil can freeze, expand, and crack your pots.
Do you need to trim branches from trees and bushes that could be affected by wind, snow, and ice? This is especially important if they are near your home. Wait until they are dormant to trim them so that you don’t hurt the plants.
A Little Prevention:
Replace the batteries in your smoke detectors and carbon monoxide detectors and check your fire extinguishers (the pressure gauge needle should be in the green area).
Do your flashlights need new batteries? Be prepared! It’s going to be dark longer so you’ll want plenty of working batteries in case of a power outage.
Take a hard look at your fireplaces, furnace, and any other types of heaters you use. Is the area around them clear and free of anything flammable?
Reverse the blade flow of your ceiling fans so they run clockwise, creating an updraft and pushing the heated air down into your rooms.
Disconnect outdoor hoses and store them in the basement, shed, or garage. Drain the outdoor faucets and cover them with hose bib covers. Don’t forget to have your lawn irrigation system winterized.
If your roof and shingles are older, have them inspected for cracks, leaks, and damage to flashing seals around chimneys and vent stacks.
Winter will be here before we know it, but now you know what to do. So get out those warm, snuggly blankets, find your slippers, and heat up the hot chocolate. And if you’re ready to design a new home or remodel part of your existing home, we’d love to create it for you.
Backsplash Thoughts

How many times have you wandered into someone’s kitchen or bath, or have been watching the DIY and Home shows on TV, and thought, “Wow, I wish I had a backsplash like that!” As designers, we are always on the hunt for the best and most innovative backsplash ideas, designs, and options.
Our latest Front Porch Friday Video Series DIY Backsplash talked about different aspects of a do it yourself backsplash, but we also wanted to make sure you knew a couple things before you got started. Whether you DIY it or have the professionals do the installing, making a final selection can be overwhelming. The professionals at a reputable local tile distributor can help you. Designing and selecting the right tile is what they do!
What to think about:
What should you think about when planning to install a backsplash? There are several things to consider when making the leap into backsplashes. Your home’s personality will most certainly be reflected through your choices.
The main goal is to showcase the cabinets, countertops, theme, and flooring in your kitchen or bath. It can serve as a focal point and a place to be as creative as you want. Use it to draw attention or just to unify the space.
If you’re not installing upper cabinets, then the backsplash choice becomes a much bigger design decision. Cost, function, and form need to be determined when choosing materials.
Style:
Backsplash materials are available in all kinds of styles, finishes, and materials, so take time to research all options and choose what it is that you’re trying to accomplish in the space. Are you making a statement, adding some color or texture, making it the focal point, or using it to complement the other features in the room?
Learn what you’ll need to do to keep it looking its best. Does it need to be sealed every year, is it hard to clean, will it scratch or discolor?
Color:
The color may be somewhat determined by your countertop color. Go bold for some drama. Add pops of color without committing to color everywhere. Choose a neutral color if your countertops are full of color. Whatever you choose, it needs to complement the countertops, flooring, and paint used in the room.
Size and Shape:
If you are using tile, don’t just think normal rectangular pieces of tile as your only option. Tiles come in sheets with a built-in pattern or they can be octagonal, hexagon, square, and more. They range in size from very large all the way down to about an inch square. They come in individual pieces or sheets. What size and shape you choose will be determined by the size and space you want to fill.
Decorative and Primary Tile:
If you are going to use several types of tile, do some research before purchasing. The primary tiles should be thicker than the decorative tiles so that you don’t have to build up all of the tiles, just the decorative ones.
Options:
The options are endless! Spend time in stores just looking around. Visit some model homes and ask what was used. Search online and read about some of the options that we’ve listed for you. Remember-it doesn’t have to be tile. There are many other materials and styles that you could use!
Subway tile
Tiles made from 100% bamboo
Recycled glass or plate glass
Glass pebbles or sea glass
Stainless steel sheets
Metallic tiles
Natural Stone
Ceramic
Porcelain
Bead Board
Soapstone
Resin Panels
Laminates
One point to keep in mind is the grout. Don’t use a cheap grout, or you’ll be replacing it within a few years. The grout is the cohesive piece in this design, so invest in the good stuff.
Things to Try:
Set some samples up on the wall after the countertops and cabinets have been installed, or at least are set up in the kitchen. What might have looked amazing in the store might not work with your lighting and other design choices when everything is actually installed in the kitchen or bath.
If you’re going with a solid color and the same shape tile for the area, play around with the pattern. Try a herringbone pattern, a diagonal, a staggered look, or the standard stack style.
Do you have an area above the range or sink that is larger than the rest of the areas to be tiled or covered? Use a different tile or pattern to create more visual interest. In a shower, use a different tile running vertically or horizontally.
You might want to install a backsplash yourself like we discussed on the video or have professionals complete the install. Whatever you do, adding a backsplash will create a stunning look. Let our designers help you create the perfect spaces in your next new build or remodel.
DIY or Pro...What to Do?

You’ve watched the DIY channel; you’ve wandered through the home improvement stores, and watched your neighbor doing everything around their home. But are you DIY savvy or do you need to use a pro when tackling projects in and around your home? Of course, here at RDS, we’re all about using a pro when you’re building a home or remodeling an existing home. But there are many projects you might be able to do on your own. Knowing how you answer the following questions may help you decide.
Our latest Front Porch Friday dealt with this topic – DIY or Pro. But let’s delve into this in a little more detail.
Ask Yourself the Following Questions; How You Answer Will Help You Decide
What is worth your time and energy?
What is worth it to you? If it’s a huge project, is the time away from your family worth it? Will your full-time job impact the timeline of the project? Is your family willing to live in chaos for a while? Any project, whether it’s a DIY or handled by the pros will cause a disruption to you and your family, but will a DIY cause more or less disruption? What is your stamina like? We all want to believe we can do it all, but can we? Or do we even want to? It might be better for you do the demo or prep work or finish work, and have a pro do the other parts.
Is the reward worth the risk?
Saving money is always important, but it may not be worth it for you to do it yourself and save a few bucks. Depending on what your project is, having someone complete this project may be a better use of your money. In addition to financial reasons, you need to know your limits. Anything that carries with it the potential for causing damage to your home or yourself, or others should be handled by the pros. Plumbing and electrical are two biggies to be wary of doing yourself if you don’t have prior knowledge or experience. Ready to knock down a wall? Do you know if it’s load bearing or how to even find out? We’ve all seen DIY projects gone wrong! If you have the skills needed for the project, or can learn a new skill quickly, then go for it! There’s nothing like being able to say that you did it yourself - if it isn’t too risky for YOU!
Do you know what you’re doing?
If you’re a seasoned DIYer, then you get what it takes to complete a project. For the rest of us, we need to understand and be aware of all of the steps that will be needed to complete the project. We need to have all of the necessary tools available to us, whether we own them or rent them. Research is paramount for success, as well as knowing who to call if things go wrong. Hidden surprises are the worst and will not only slow your project down but might prevent you from completing it. However, the more DIY you do, the better you will be with future projects.
Be honest – will you finish what you start?
This is an easy one to understand. Look around - do you have other unfinished projects? Don’t start any new ones until you finish other ones you have started. In addition, if you tend to be a weekend warrior, how long will this DIY take? If it’s a huge project, do you have the time? Start small if this is your first project and stay on your schedule!
How long will the project take and can my family live with it?
A kitchen remodel, finishing a basement, or adding a room will take a great deal of time and energy, especially if you’re doing it yourself. How will your family cope with the project? If the DIY is a big time-involved project, you might want to call the pros. Painting, building furniture, replacing doors, changing light fixtures, or adding a deck or outdoor space might be better places to start as a DIY.
Do you understand what permits and licenses might be needed?
Depending on your project, you might need a permit or license. Some communities require a permit to install a hot water tank or HVAC system. Some require permits for fences, patios or decks, or room additions. Pros understand permits and licenses since that is critical to their success. Every community has different rules and restrictions, so if this is more than you want to handle, then using a pro has its benefits. But if you love working with permits and licenses, you’ve done it before, or you just want to learn how to do this, then go for it. Don’t listen to your neighbor’s advice about needing a permit – always call the city to check.
If you’re thinking of designing a home or just redesigning an existing home, call us. We are your seasoned professionals and while we won’t knock down walls for you, we’ll help you figure out which ones you can have knocked down!
The Demo and Remodeling of a Kitchen Part 2

The kitchen remodel is well underway in our clients’ home. If you remember, in our last blog, we were all about the demo of the kitchen. Now the fun work begins!
What has been going on in this home and what could you expect in your kitchen remodel?
This is the second blog in our Kitchen Demo/Remodel series. Our clients began with a kitchen remodel and we’re filling you in on what decisions they’ve made in this project that involves not only the kitchen but the family room, stairway, and floors.
- Our clients have some important design decisions to make. Where the new work begins and the old house ends is always a tricky one. Are you just going to paint the kitchen or will this new paint color work its way through the whole first floor? Does the stairwell to the second floor get the new paint color? And what about flooring? Is it going to be all new throughout the first floor or just in the kitchen? Our clients decided that the kitchen remodel wasn’t going to be the only part of the first floor to be remodeled…the living room and rest of the first floor is now being remodeled, as well as the stairs and railings leading to the second floor. You know the saying, “One thing leads to another!”
- Under cabinet lighting is important to our clients. This lighting allows illumination of the prep spaces and will show off the soon to be installed gorgeous countertops. Imagine the glow of the under cabinet lighting when you don’t want other lighting turned on!
- When installing cabinets, it’s critical to leave space above the cabinets for crown molding placement, which will cover the ductwork, electrical lines, and plumbing lines. You don’t want to get all of the cabinets up and realize that no room was left for molding installation. This is just one of the many detail decisions we have to think about and share with our clients when designing a kitchen.
- Once the cabinets have been set, it will be time to install the countertops. The true vision of the kitchen will be apparent soon!
- The cabinets themselves have been shimmed up, allowing the extra space needed for the installation of the new flooring. Again, not thinking this piece through beforehand could be disastrous on the day of the floor install.
- Our contractor, Dave Osmond Builders, working with the client, had the foresight to install outlets (required by code) high on the backs of some of the cabinets so as not to interfere with the cohesive look of the decorative backs of the cabinets.
- What details will you add? Our clients, after seeing the upper peninsula cabinets, decided to install one of a kind seeded glass doors on both sides to let natural light and the kitchen light shine through. This creates warmth, natural and ambient light…and a little drama! We can’t wait to see the cabinets finished.
- Along with the kitchen, the remodel of the family room is underway. The existing built-ins have been updates, giving a much-needed facelift to the room.
No matter what, a remodel is an incredible journey! When you work with our designers at RDS, we promise to understand your vision, help you create the special details you want to incorporate, and guide you through the process.
To see more of this journey, watch our Front Porch Friday Video…Front Porch Friday Kitchen Demo/Remodel Part 2.